|
|
Post by alphaz on Mar 25, 2020 9:49:42 GMT 10
As for saving out unique textures do we still need to modify them using HxD like before? or is there a new method for doing this? There is a .bat file that comes with RETool that can automatically convert to RE2 format
|
|
|
|
Post by alphaz on Mar 31, 2020 10:03:13 GMT 10
I have update the script to version 0.5e here, now with the ability to import meshes with no bones when unchecking "Import Skin". The script should be able to import almost all meshes now. 
|
|
|
|
Post by 388 on Apr 27, 2020 20:20:33 GMT 10
nice!you Solved my problem,thanks so much!
|
|
|
|
Post by alphaz on Apr 27, 2020 21:50:53 GMT 10
Spotty normals have been completely fixed! The normals on mods are still not 100% what they should be compared to the normals on Capcom models, but this is a giant leap in the right direction and makes them look so, so much better.
|
|
|
|
Post by alphaz on May 6, 2020 6:37:22 GMT 10
Tangent space calculation in the script has been fixed. Now all exported submeshes are as clean as submesh_1. However, not all models are compatible with the tangent space formula, and some will generate garbled tangents. You can test to see if your model is broken with regard to tangent calculation by using my tangent tool ( download here) to generate normals on the model that will visualize the calculated tangents. If your model is incapable of having them calculated, you can fix it to make it capable by using ResetMesh on the model, or by exporting it as FBX and then exporting the FBX as OBJ from Noesis. Visualized tangents should appear like this, when working correctly:  Make sure your normal map works with the handedness of your generated tangents. If it does not, your model will have inverted shadows and seams appearing between the UVs. This can be fixed by changing the "flip handedness" checkbox in the script export, or by inverting the green channel of your normal map. The vast majority of models for RE Engine seem to have flipped-handedness. The script can also import original normals from any saved model now, including from Capcom models. This is very useful for preserving well-crafted normals and normals across neck seams. A feature has been added to allow weighted normals to be generated on selected meshes. Weighted normals are especially adapted to preserving bevels and hard angles, and look better for the kind of low-poly geometry seen in games. Another feature has been added in the form of a "Re-import 3DS" button. This will fix most issues with your mesh and create a fresh duplicate with correct UV maps. Finally, the script has been updated to be able to export all kinds of meshes, including static ones with no bones, such as stages and props. Download the script v1.31 HERE
|
|
Bringing consistency to this inconsistent franchise
Posts: 449 
|
Post by chiarav1 on May 6, 2020 11:06:05 GMT 10
thank you so much for this now it works awesome 
|
|
|
|
Post by patrick260284 on May 18, 2020 20:05:13 GMT 10
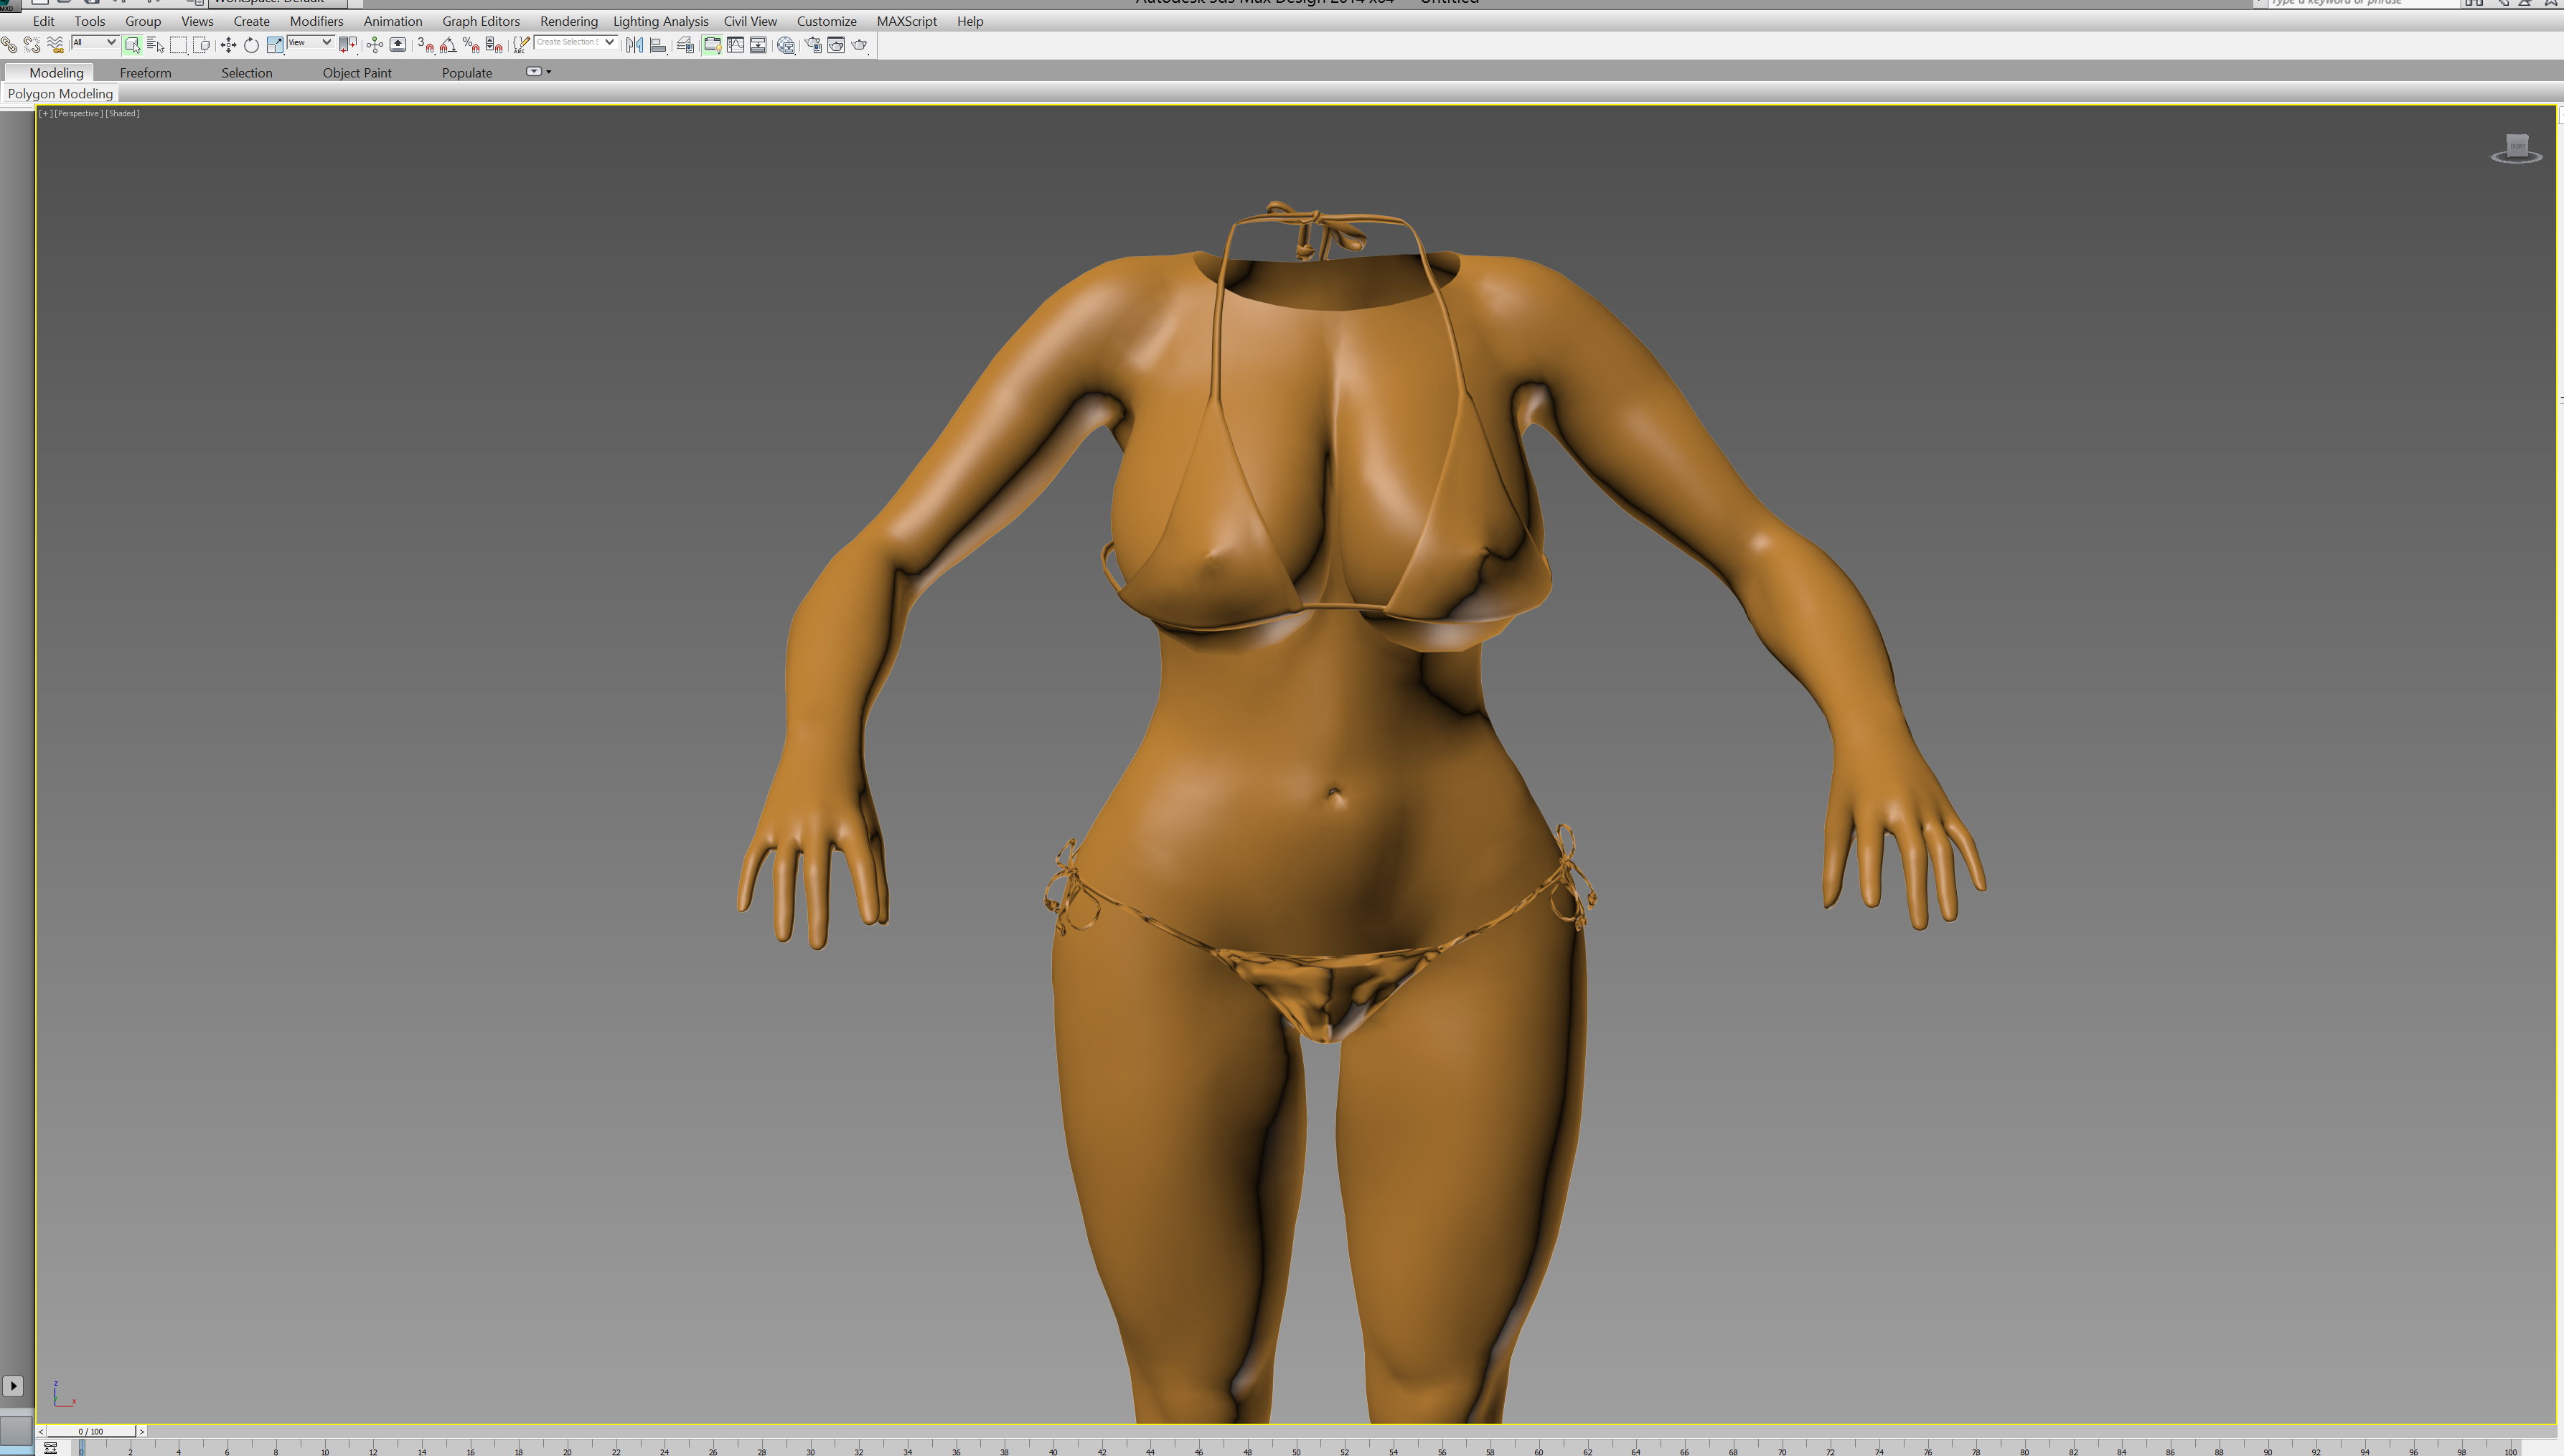
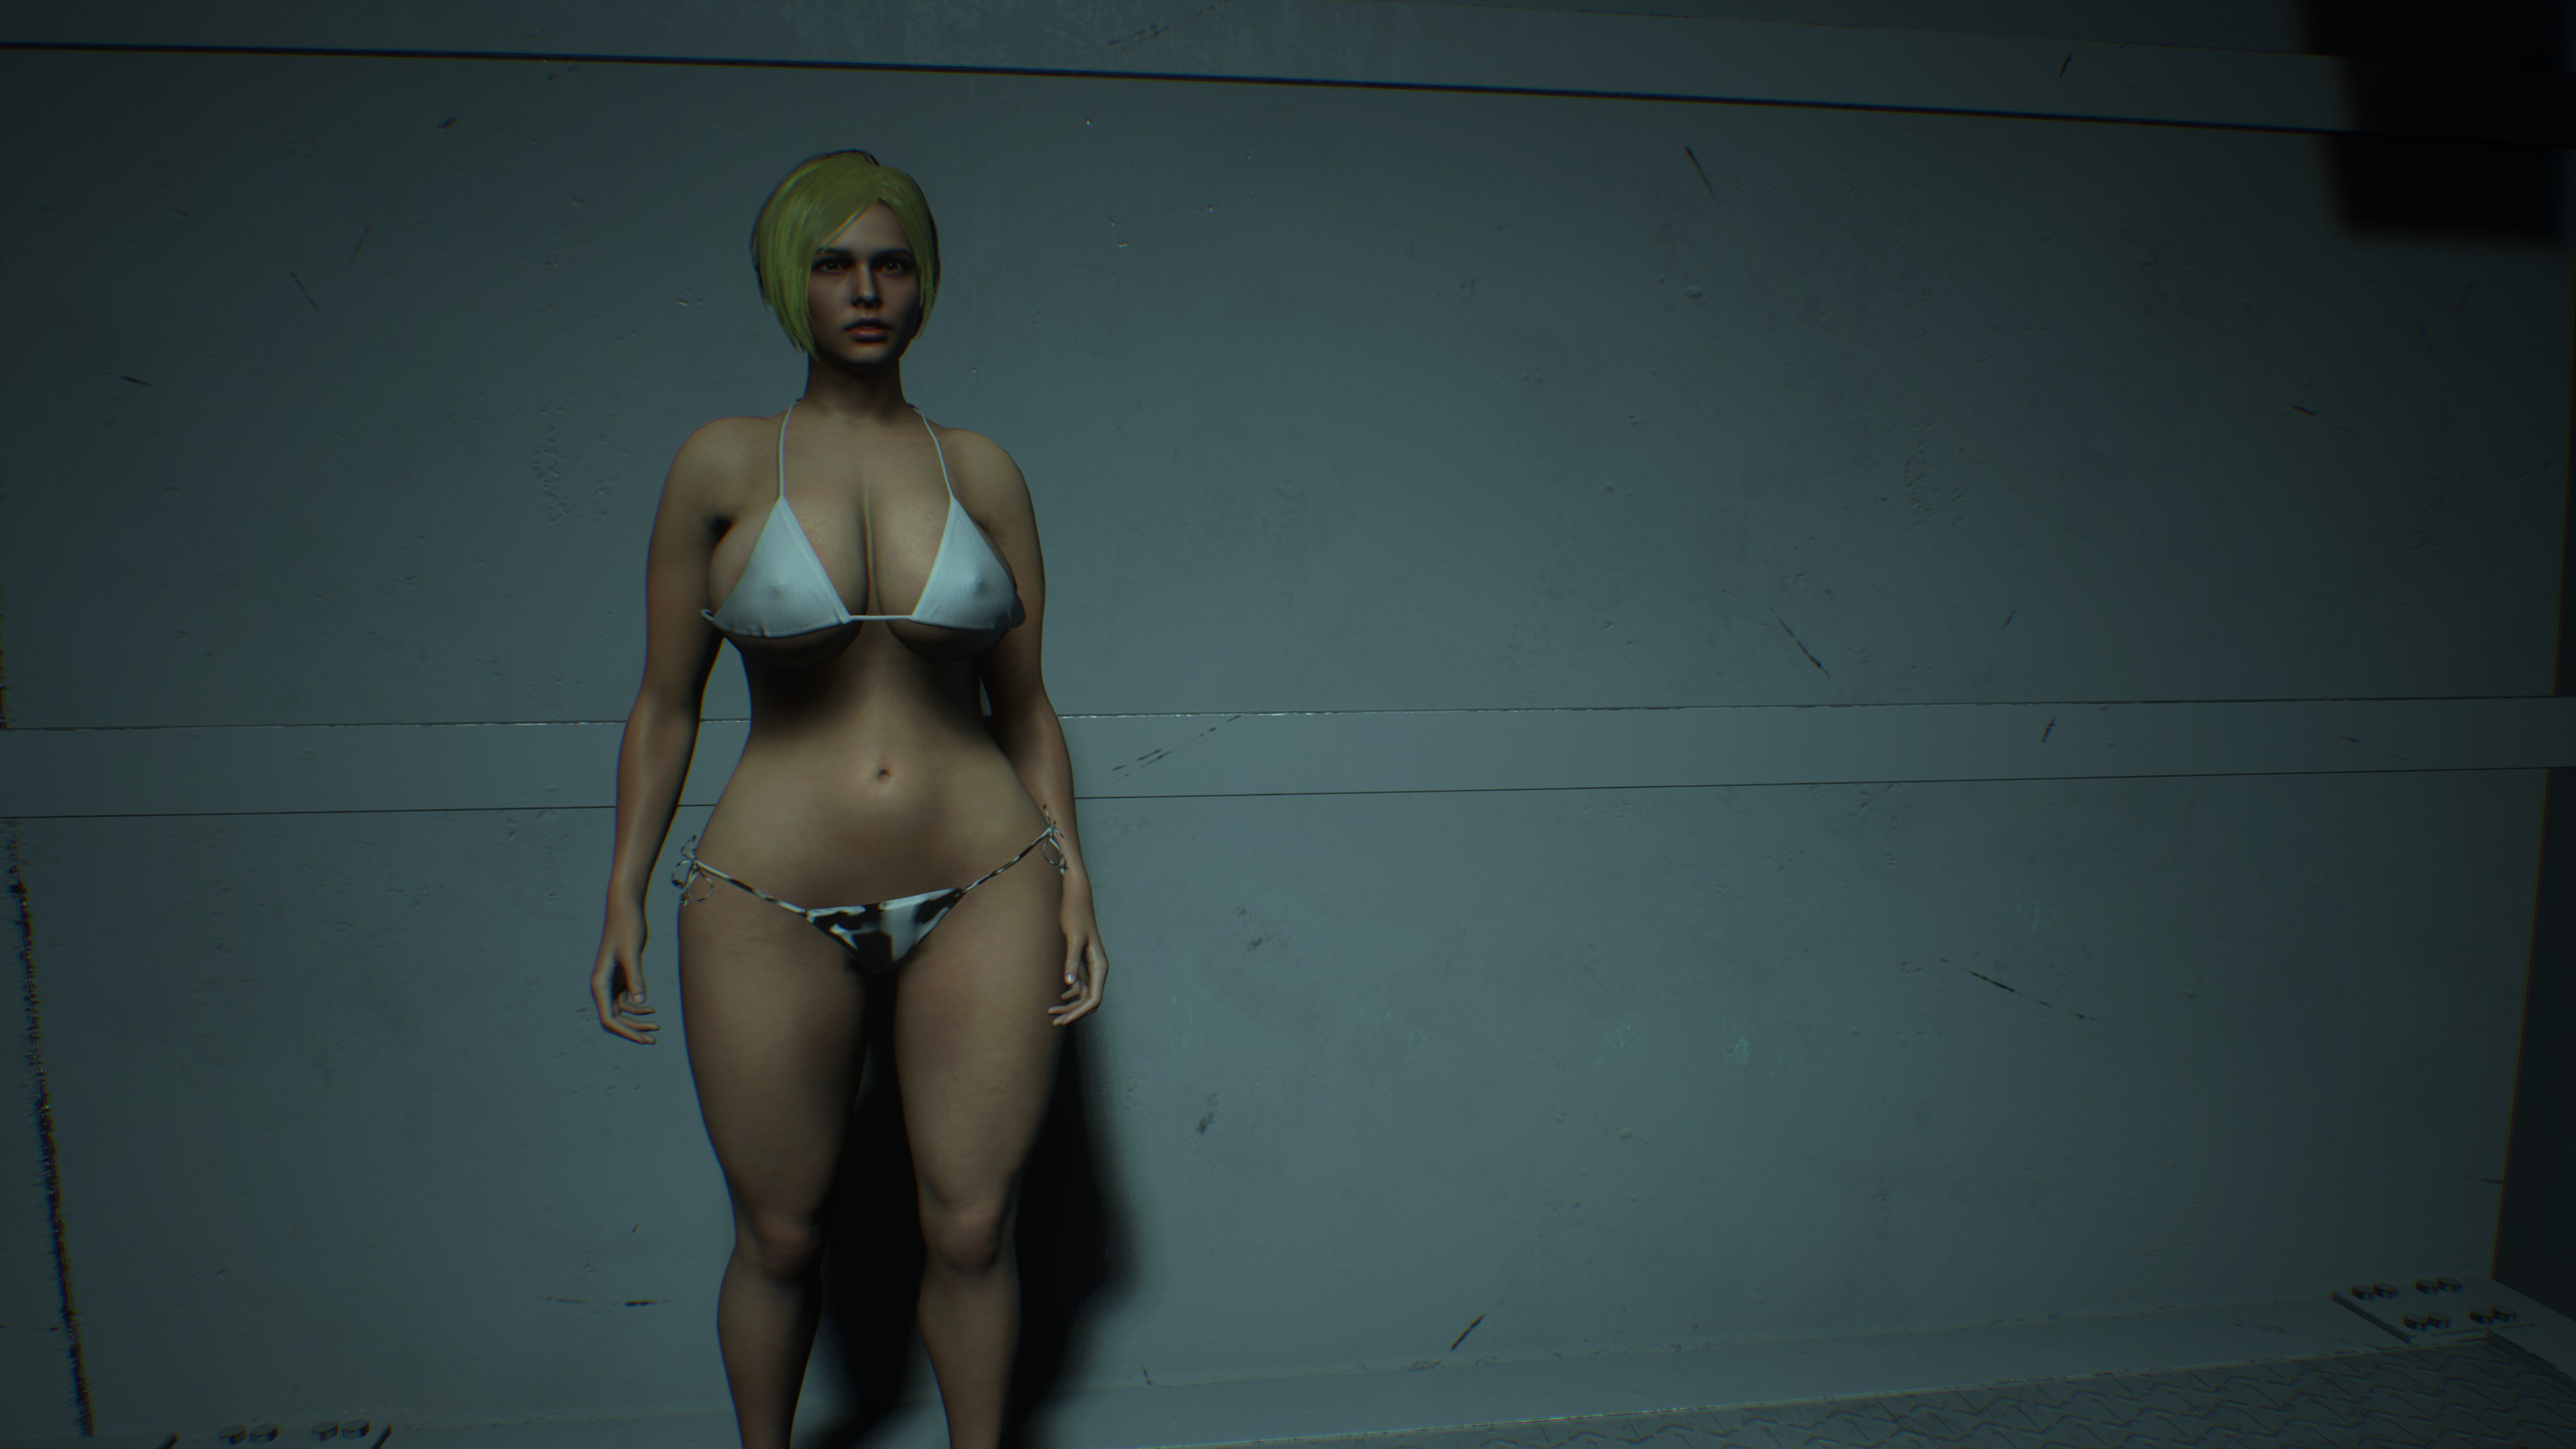
Hy Alpha I´m having some trouble with the script: Her bikini panty looks a little strange in 3dsmax after importing and when the texture is applied those dark areas are still visible.  
|
|
|
|
Post by alphaz on May 18, 2020 22:14:50 GMT 10
Hy Alpha I´m having some trouble with the script: Her bikini panty looks a little strange in 3dsmax after importing and when the texture is applied those dark areas are still visible. The bikini mesh is broken and needs to be optimized. Use resetmesh on it, or export the mesh as OBJ from Noesis until it is able to generate valid tangents. Once it is able to generate valid tangents, it will also be synchronized to be able to import valid normals: Tangent space calculation in the script has been fixed. Now all exported submeshes are as clean as submesh_1. However, not all models are compatible with the tangent space formula, and some will generate garbled tangents. You can test to see if your model is broken with regard to tangent calculation by using my tangent tool ( download here) to generate normals on the model that will visualize the calculated tangents. If your model is incapable of having them calculated, you can fix it to make it capable by using ResetMesh on the model, or by exporting it as FBX and then exporting the FBX as OBJ from Noesis.
|
|
|
|
Post by patrick260284 on May 18, 2020 22:35:29 GMT 10
Awesome. Thanks a lot for your quick help!
|
|
From my experience, yes.
Posts: 420 
|
Post by sharontubul on May 22, 2020 16:24:46 GMT 10
Hi there alphaz is this script solely meant to work on a certain version of Max? I know resetmesh only works up until 2016. Do you recommend a specific build for modding on RE Engine?
|
|
|
|
Post by alphaz on May 26, 2020 3:25:26 GMT 10
RE Engine MESH tool v1.33
May 25- Change bone position is now called "Change Skeleton". Now works better, and works on all selected bones and their children, including the root bone
- "Import Skeleton" function added to the import menu. Allows you to import the positions of all bones in a mesh file that share names with your selected bones and their children
- "unchangeBoneMapName" is now "Un-Numbered Bones"
- Re-import submesh function now more reliable
- Submesh Number (order in the MESH file) and the MDF Material number used by the submesh are now saved in the Object Properties of every imported submesh
Download here Carlos bone positions loaded onto Jill's skeleton:  Ada's bone positions loaded onto Claire's face:  Using "Change Skeleton" to change the bone positions of Claire's face to match with Ada's bones made Claire become fully compatible with Ada's facial animations:  Hi there alphaz is this script solely meant to work on a certain version of Max? I know resetmesh only works up until 2016. Do you recommend a specific build for modding on RE Engine? I use Max 2014, and thats what the script was originally written for, but it should work fine on all versions of Max from 2012+. The only one I heard sometimes has a problem is Max 2020
|
|
Posts: 16 
|
Post by xiang77 on Jun 4, 2020 16:25:19 GMT 10
so powerful! just one click? then we can get the right mesh even for those ppl have no knowledge of 3ds max. 
|
|
|
|
Post by alphaz on Jun 4, 2020 18:16:22 GMT 10
RE Engine MESH TOOL v1.34
-Import skeleton now has a " T-pose" checkbox. Check the box and import a skeleton to import it T-posed. Change the " threshold" to adjust how much of the mesh is T-posed vs how much is A-posed. Different models require different thresholds to successfully T-pose without any twisted joints. Set it to -1 to import the model 100% T-posed. Set it to 0 to import the model by its local bone transforms instead of the normal global transforms. -You can now add un-numbered bones to the list of bones in the Skin modifier, if there is space in the hex of the MESH file to add them. Select the un-numbered bone in the skeleton, click " Add Bone" and choose the MESH file you want to add it to. When you import that MESH, the bone will be the last bone in the list Download Here Jill T-posed skeleton imported:  Some joints may need to be manually rotated or un-rotated by 90 degrees. From T-pose, you can save the skeleton as global positions to another mesh file for easy loading. With this, you can easily rig other T-posed characters from outside Resident Evil to RE characters without having to put them in A-pose. Just skin wrap them to the T-posed RE character, and use import skeleton to put them back to the A-pose positions and get them ready for the game. For add-bone, here you can see I added the l_weapon bone to the bones list. I selected it in the skeleton, then clicked "Add Bone" and chose my mesh file to add it to. Then I imported that mesh file with the script, and got this: 
|
|
Posts: 95 
|
Post by TM_Top on Jun 21, 2020 10:01:11 GMT 10
Awesome as always
|
|
|
|
Post by alphaz on Jul 4, 2020 6:49:10 GMT 10
RE Engine MESH Tool v1.35a [Download Here]CHANGES [Download Here]CHANGES: - Crash fixes for stages / static meshes and RE2 meshes
- Weapons meshes are exported correctly without ever being invisible
- Face UVs are no longer imported because they were causing UV corruption in the RE7 script, and because vertex UVs are enough anyway
- Much improved T-pose skeleton import, with less twisted bones
- "Add Bone" can now add one more bone than it could before
- Submeshes now have custom Object Properties when you right click on them, one of which is MDF_Material = . Changing this user property changes what material the submesh uses from its MDF file
- "Use New Naming Scheme" checkbox lets you import and export with submeshes numbered by order rather than by material, so every mainmesh will have submesh_1,2,3,4 etc instead of things like 2,3,6,7
Object PropertiesWhen you import a model, it will have special user-properties added to it by the script that define what material it uses and what submesh it is. You can see these properties by right clicking on the submesh and going to its Object Properties, like this:   The submesh property is not currently used, but changing the number in the MDF_Material property will actually change what material that submesh uses. It corresponds to the same list of numbers used by the model's MDF file for its materials used on the model. UPDATE: as of v1.35a, MDF_Material will be ignored during export unless the third property, Write_MDF_Material, is set to true. New Naming SchemeTo explain the purpose of the New Naming Scheme, I think it's best to show you a model that requires it. Here is a mesh of Jill that has her first 12 submeshes all combined onto Mainmesh_1. Normally, all of mainmesh_2 and mainmesh_3 (8 submeshes) are made invisible from the start of RE3 until Jill picks up the pistol from the dead cop. This hacked mesh combines the structures of Mainmesh_2 and Mainmesh_3 all together onto Mainmesh_1, which will never go invisible:  ...but some of those submeshes use the same material, so with the old naming scheme Maliwei made for the script, there would be multiple LODGroup_1_Mainmesh_1_Submesh_2's, for example, and they would be skipped or exported to the wrong places in the file. That's why you need to use the new naming scheme. Checking the "Use New Naming Scheme" checkbox will organize the imported submeshes by their order in the file, rather than by what material they use. So Mainmesh_1 will now be populated by Submesh_1,2,3,4 etc instead of having an odd ordering like Submesh_2,3,5,6, and every other mainmesh will have its submeshes ordered numerically as well. You can download the combined-mainmesh model here. It is a version of Jill's default costume meant for the full-game, with a head bone added. It and any mods made over it must be imported and exported using the new naming scheme.  ^fully equipped Jill at the start of RE3
|
|